| Prototyping
the Solution:
Limited to the tools at hand, I had to be
somewhat creative in my prototyping efforts. At present, I only have a
drill press, table saw, Dremel, and assorted hand tools with which to
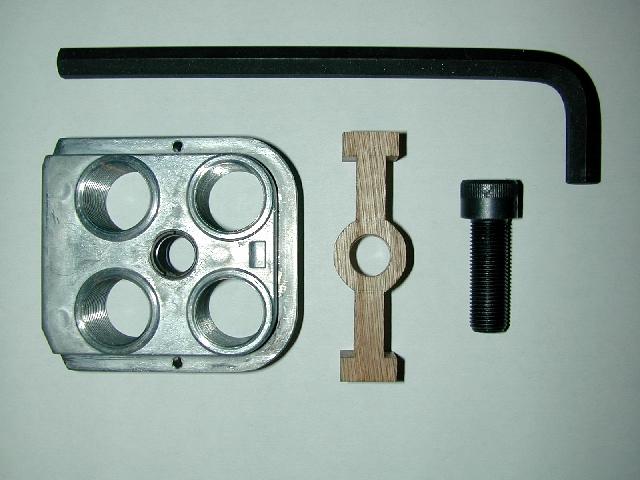
work. Below is an image of the clamp "package" containing the
required components:

From left to right are the modified tool
head, prototype clamp (version 1+), clamp fastener, and at the top is an
appropriately-sized Allen wrench. What follows is a closer look at
selected components, their evolution, and some images of the clamp in
various stages of installation.
The Clamp:
This part of the package consumed by far
the greatest amount of development time. I chose to construct the
prototype from Red Oak, due to 1) availability, and 2) ease of machining
with the tools at hand. Take a look at it's progression from version 1
to the its current state in version 3:
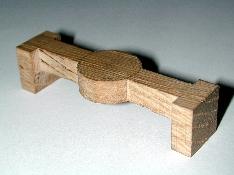
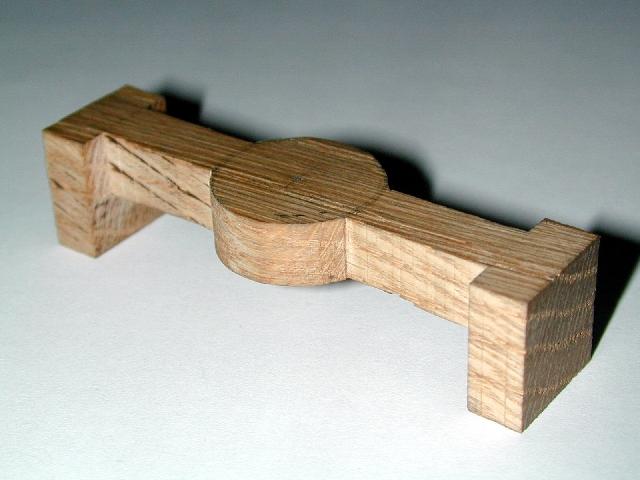
Above is version 1 of the clamp body
basically machined to its overall shape to test for fit. Note that it
isn't even drilled for the fastener yet.
|
|
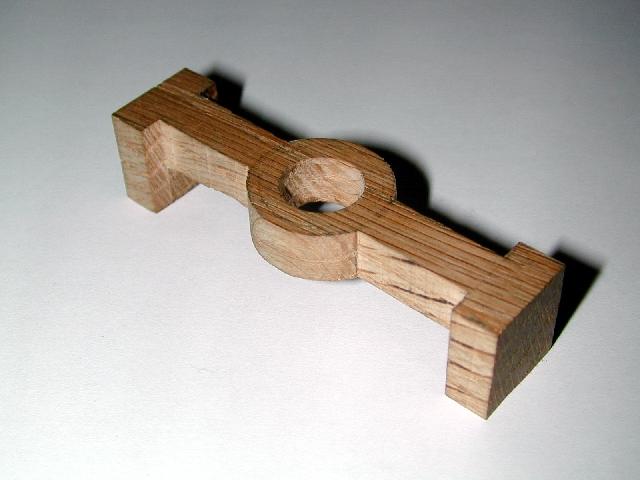
Here is a image of version 1+:
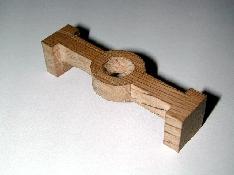
Essentially, the only change to the
prototype was to drill the clamp for the fastener.

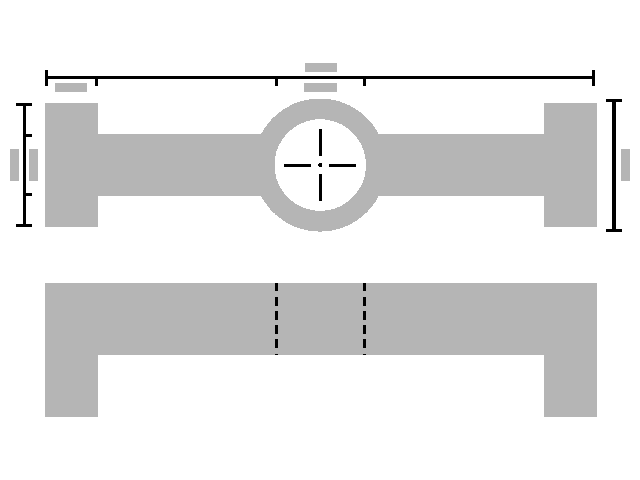
Above is the 2D plan view for the version 2
clamp.
This version was required due to a change in the fastener specification. The first fastener's head diameter was such that it interfered
with the powder measure... Good thing for prototyping, right? Due to
the reduced fastener head diameter, I briefly considered reducing the
fastener boss diameter. I reconsidered after realizing that
1) it significantly reduced the clamp's strength in that area, and 2) was
not necessary. So version 2 was a non-prototyped iteration.
Next...
|